
This blog is now hosted on Typepad.
Sweet Tooth Haven
Come on over and visit!
Tuesday, August 28, 2007
Thursday, August 23, 2007
Dark and Spicy Molasses Bread
The bread isn't really spicy, but the bit of ginger and cloves add a little something. This recipe is from the Old Shaker Recipes cookbook I got at the Rebecca-Ruth Candy Factory. It's printed by Bear Wallow Books. If you're looking for a hearty bread that makes fabulous toast, give this a try. I'm posting the full recipe which makes 2 loaves. We could never eat 2, so I made a half-recipe and I used white whole wheat, so mine wasn't quite so dark.
Ingredients:
2 packages dry yeast (1 package = 2 1/2 tsp. I use SAF Instant)
1/2 cup warm water (Not too hot!)
4 Tablespoons butter
1/2 cup dark molasses
2 cups milk
3 Tablespoons brown sugar
4-5 cups unbleached flour
2-2 1/2 cups whole wheat flour (I used white whole wheat)
1/2 cup wheat germ
3 teaspoons salt
1/4 teaspoon powdered cloves
1/2 teaspoon ground ginger
dash of nutmeg
Directions:
1. Sprinkle yeast on the 1/2 cup warm water. Give it a bit of a stir and let it sit for a few minutes to dissolve and get woken up.
2. Put butter, molasses, milk, and brown sugar in a saucepan and heat. Do not boil, you just want the sugar to dissolve and butter to melt. Remove from heat and let it cool to lukewarm.
3. When sugar mixture is cooled, at the dissolved yeast. Pour into a large bowl.4. In a large bowl, combine the dry ingredients (flours and the rest).

5. Add flour mixture a bit at a time, beat well after each addition of flour. Stop when the dough makes a ball and comes away from the sides of the bowl. You might have a bit of flour leftover.


6. Turn dough onto floured bread board and knead 5-8 minutes until smooth and satiny.
7. Place dough in a greased bowl, cover and put in a warm place to rise until double (2 hours).


8. Punch down gently.
10. Bake in 350-degree oven for 35-45 minutes. Mine got a bit too brown on the top. You might want to put a loose aluminum foil tent over if yours is getting too brown.

11. Brush tops with butter and remove from pan. Eat some while it's warm!

Sunday, August 12, 2007
My New Amazon Shop!
Need something for your kitchen? Want to see my some of my favorite movies and books? Stop by my new Amazon store Sweet Tooth Essentials. I've filled the store with essentials for the kitchen that I sometimes use to make recipes on this site as well as some DVDs and books that I love. There are also a few items that I don't have, but am thinking about buying one of these days. Happy shopping!
Pepper Mill
Embarrassing though it is, I will admit that I've been using plastic, disposable pepper mills for several years. I know it's a waste, both of money and resources, but I just haven't found the right mill for me. Currently there are only a few peppercorns left rattling in the bottom of my mill, so I decided it's time to do some research. The testing lab at Cooks Illustrated gave the Unicorn Magnum Plus the top rating. It might be more mill than I need, but after checking the competition, I think it's the one. There is a smaller version called just Magnum, which might be a better choice for me, but I'm still undecided.

Saturday, August 11, 2007
Country Cookbooks
When I'm in Kentucky I eventually find my way into a country store. I love the little paperback cookbooks they usually stock. I finally broke down and bought some. I couldn't resist the Milky Way Cake in Ezzibee's Kitchen. Of course I don't have to explain what drove me to the Old Fashioned Candy Cookbook. The Shaker book was recommended by the man at Rebecca Ruth (see yesterday's post) and after looking through it could see why. Shakers were notoriously good at crafts and cooking. I'll post my results here for you all the see.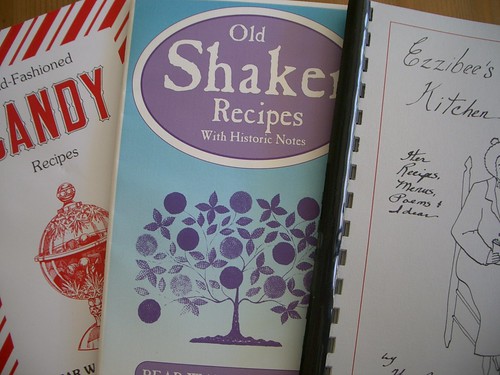
Friday, August 10, 2007
Rebecca Ruth Candy
Rebecca Ruth is famous for their bourbon balls.
While I was shopping, I learned that the factory was featured in the "Louisville, Kentucky and Beyond" episode of Road Tasted on the Food Network. I haven't seen the show, but love that it included a personal favorite. The show also featured a favorite of my grandmother, Modjeskas.
Best of all, I learned that Rebecca Ruth does mail order. Hooray! Of course there's nothing better than stepping into that little factory and picking out your favorites, but when you can't travel to Kentucky at least there's an alternative.
Monday, July 23, 2007
Caramel Mini Brownie Cups
This recipe is from The All-American Cookie Book by Nancy Baggett. (An amazing cookbook with tons of tips and trouble-shooting solutions along with fabulous recipes.) I love caramel and couldn't resist trying a brownie that incorporates Rolo candies. You can also use Reese's peanut butter cups!
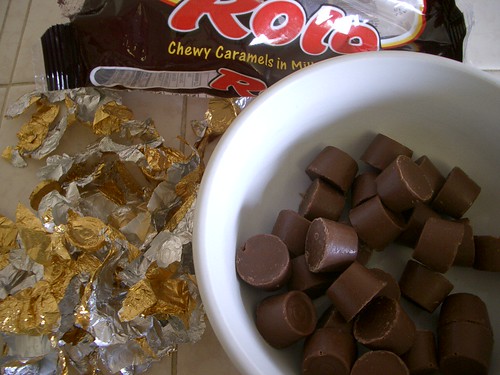 Preparation:
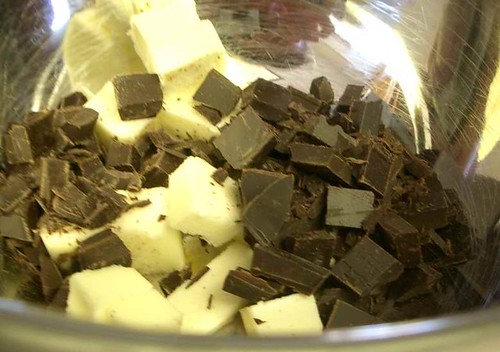 1. Melt the butter and chocolates. I put a stainless steel bowl over simmering water for a makeshift double boiler. You can use the microwave if you prefer. With chocolate the key is to go slow and stir frequently. If using the microwave, remove before chocolate is completely melted and stir to finish the job.
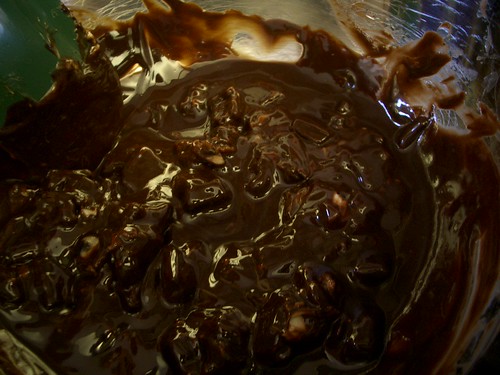 2. Add 2/3 cup sugar and stir well. Let cool slightly.
3. In a small bowl mix together 2/3 cup flour, 1/4 tsp salt, and 1/4 tsp baking soda. Set this aside.
4. Now the chocolate mixture should be barely warm. Beat in the egg, then add 1 tsp vanilla. Stir until mixture is smooth and shiny.
5. Add in the flour mixture and stir until incorporated.
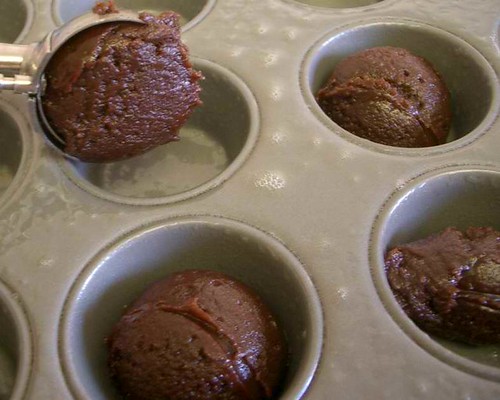
6. Spoon the batter into the mini muffin cups. (A mini scoop makes it so easy and neat.)
7. Bake in the middle of the oven for 10-14 minutes. You want the brownies to be almost firm in the middle.
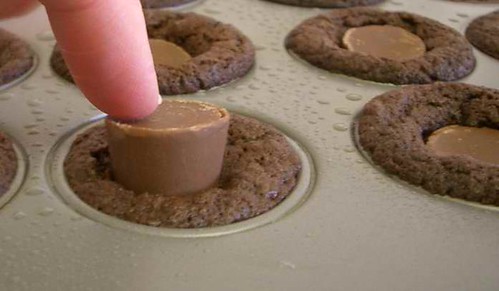
8. Immediately press 1 candy into the center of the brownie until it's flush with the surface.
 9. Put muffin pan on a wire rack and leave them alone until totally cool. I know it's hard, but find something useful to do. Read a book. Do laundry. Take a nap. Go for a walk.
 10. Remove from pan and enjoy! Yum! (Warning = be sure you have milk in the house)
Variations:
Preparation:- Several hours ahead- unwrap the candy and put it in the refrigerator to chill.
- Preheat oven to 350-degrees.
- Spray mini muffin pan with cooking spray or lightly grease. (makes 24)
- 5 Tablespoons unsalted butter, cut into chunks
- 2 oz unsweetened chocolate, chopped
- 1 oz semisweet chocolate, chopped
- 2/3 cup sugar
- 2/3 cup all purpose flour
- 1/4 teaspoon baking soda
- 1/4 teaspoon salt
- 1 large egg
- 1 teaspoon vanilla
- 24 Rolo candies, unwrapped and chilled
1. Melt the butter and chocolates. I put a stainless steel bowl over simmering water for a makeshift double boiler. You can use the microwave if you prefer. With chocolate the key is to go slow and stir frequently. If using the microwave, remove before chocolate is completely melted and stir to finish the job.2. Add 2/3 cup sugar and stir well. Let cool slightly.3. In a small bowl mix together 2/3 cup flour, 1/4 tsp salt, and 1/4 tsp baking soda. Set this aside.
4. Now the chocolate mixture should be barely warm. Beat in the egg, then add 1 tsp vanilla. Stir until mixture is smooth and shiny.
5. Add in the flour mixture and stir until incorporated.
6. Spoon the batter into the mini muffin cups. (A mini scoop makes it so easy and neat.)
7. Bake in the middle of the oven for 10-14 minutes. You want the brownies to be almost firm in the middle.
8. Immediately press 1 candy into the center of the brownie until it's flush with the surface.
9. Put muffin pan on a wire rack and leave them alone until totally cool. I know it's hard, but find something useful to do. Read a book. Do laundry. Take a nap. Go for a walk.10. Remove from pan and enjoy! Yum! (Warning = be sure you have milk in the house)Variations:
- Use mini Reese's peanut butter cups instead of Rolos.
- Add 2 Tablespoons smooth peanut butter to the batter with the egg in step #4.
Wednesday, July 18, 2007
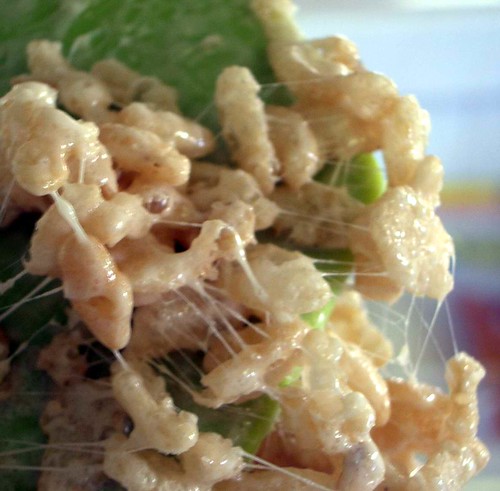
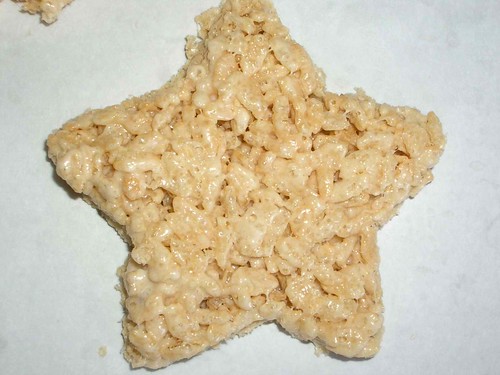
Rice Kripsie Treats - Super Secret Recipe!!
 Like I said yesterday, everyone knows how to make Rice Krispie treats. The recipe is right on the box. Being the sweet tooth I am, I like to spruce up the recipe with a few changes; including my secret ingredient. Here it goes:
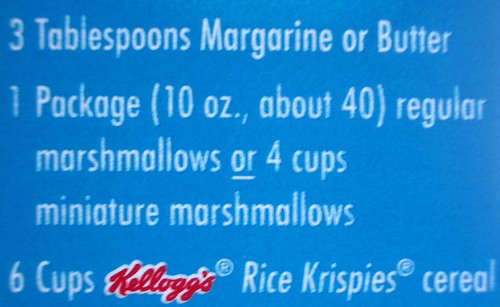
- Melt 4 Tablespoons butter in large pot over medium low heat.
- Add 5 cups mini marshmallows. Stir, stir, stir.
- When the marshmallows are almost melted, add the secret ingredient. Are you ready?
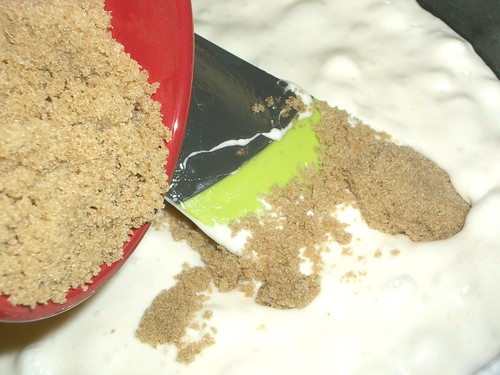
brown sugar! (a bit less than 1/4 cup). Are you surprised? More sugar!
4. Keep stirring until the marshmallows are totally melted.
5. Add 6 cups Rice Krispies cereal. Mix well.
6. Press into buttered 9x13 pan. Use waxed paper or butter up your hands.
Enjoy your ooey, gooey treat!
And remember: if you lick it off the spoon, it doesn't have calories!
 Other ideas:
5. Add 6 cups Rice Krispies cereal. Mix well.
6. Press into buttered 9x13 pan. Use waxed paper or butter up your hands.
Enjoy your ooey, gooey treat!
And remember: if you lick it off the spoon, it doesn't have calories!
Other ideas:- Spread the still warm treats on a cookie sheet and use cutters to make treats in fun shapes.
- Make different colors by adding food coloring to the melted marshmallows.
Tuesday, July 17, 2007
Coming Soon.....
Soon, very soon I will be posting my very own secret Rice Krispie treat recipe. I know what you're thinking, everyone can make Rick Krispie treats. Yes, they are easy to make. Yes, I've been making them since I was a kid as well. Only I figured out a way to make them super-duper sweet and tasty. My sister has been trying to figure out what I do to make my treats so darn good for years. Well, her wait will soon be over. I will soon reveal my secret to the world...or at least to anyone who happens to see this blog.
Stay tuned...
Stay tuned...
Saturday, July 14, 2007

Friday, July 13, 2007
Strawberries and Cream
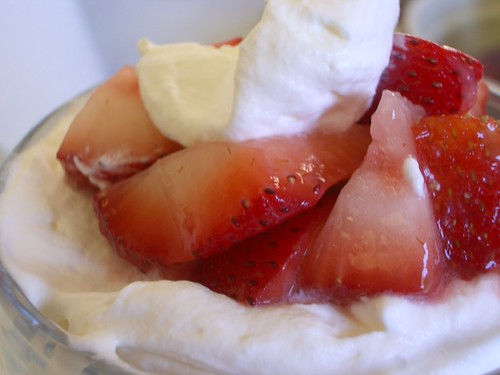
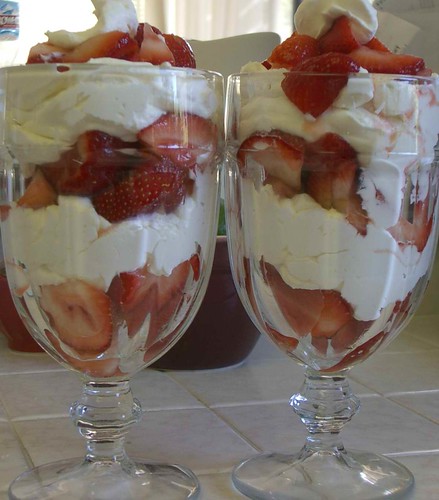 One of the best things about summer is fresh strawberries. When you have fresh strawberries, you must have thick, creamy whipped cream. I like mine so thick it's a few beats away from butter. How do you like your strawberries?
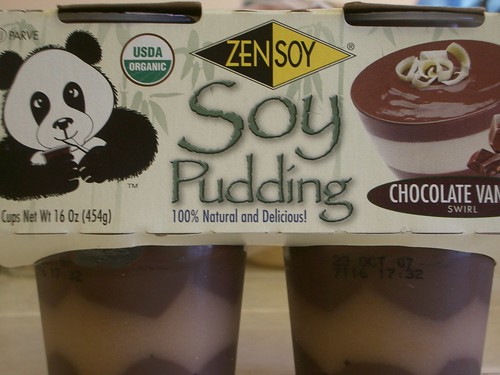
Chocolate Pudding, Yum, Yum!
I'm not vegan. I don't drink soy milk and rarely eat tofu. I normally consume copious amounts of dairy products without regret. However, my mom has severe allergies to milk; so when I saw these soy pudding snacks I decided to taste test them for her. They are fabulous. Creamy and chocolaty. I'm addicted. I don't think I like 'regular' pudding this much. Don't ever buy them.
King Arthur Flour
Why do I love King Arthur Flour? Let my count the ways:
Are those enough reasons? If you haven't been to their website or received their catalog, why not? I've given you enough links. I also put them in my side bar.
- The catalog. I drool over this like some people do the Victoria Secrets catalog. They have fantastic baking gadgets and tools.
- The recipes. Their recipe collection is extensive and has never failed me. Everything on it has been tested.
- Baking mixes. From scones to pet treats. Tastes like you made it from scratch. You can tell everyone you did. After all you did have to add things like eggs and water to the mix. You had to put it in the oven. My favorite is the crumbcake.
- Free classes. If you live in or near Vermont I envy you. The rest of us can enjoy a class when they come to our neighborhood. Which isn't often enough. Or check out online classes.
- The Baking Circle. Join this message board and if you ever, ever have a question about baking. Ask. You will be answered. Also get special offers via email.
- The company is employee owned. Nice to see in a world were everything is becoming owned by mega corporations.
- I only use their flour. Mostly I use all-purpose unbleached. I want to start using more of the white whole wheat. Check out the variety. They are even starting to sell more organic products.
- They have fabulous cookbooks. Of course they're more like baking books, but what do you expect from a flour company. Buy them from KAF's website, or buy them from Amazon.
Are those enough reasons? If you haven't been to their website or received their catalog, why not? I've given you enough links. I also put them in my side bar.
Thursday, July 12, 2007
Trader Joe's Mini Peanut Butter Cup Cookies

I noticed these dangerous looking candies at Trader Joe's many months ago. My substantial will power prevented me from buying these particular candies because I knew that without wrappers to peel off these would go in my mouth by the handful.
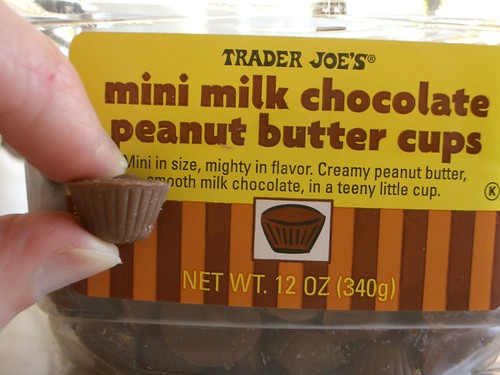
Recently I thought of the perfect excuse. Infinitely more acceptable than swallowing them by the handful. These tiny peanut butter cups seem to be just about the same size as chocolate chips. Of course I couldn't stop thinking about cookies full of these tasty sweets.
Here are the results:
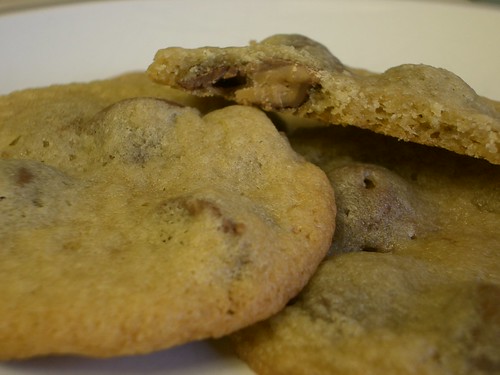 I used my standard chocolate chip cookie recipe.
 Mix until creamy:
- 1 cup butter (room temperature- but not too soft)
- 3/4 cup brown sugar
- 3/4 cup sugar
- 2 eggs (room temperature)
- 1 tsp vanilla
- 2 1/4 cup all purpose flour
- 1 tsp salt
- 1 tsp baking soda
Finally, add the peanut butter cups (or chocolate chips). If you use your electric mixer for the batter, I recommend not using it when you add the chocolate. It just smashes them up.
Bake in preheated 350-degree oven for 9-10 minutes. Enjoy!
Subscribe to:
Posts (Atom)
